Setting up a wireless network
 Setting up a Wi-Fi network is easy; the entire process shouldn't take you more than an hour, even if you've never done this before. And then, at the end of the process, you will be able to connect all your Internet-ready devices to the web without using any network cables.
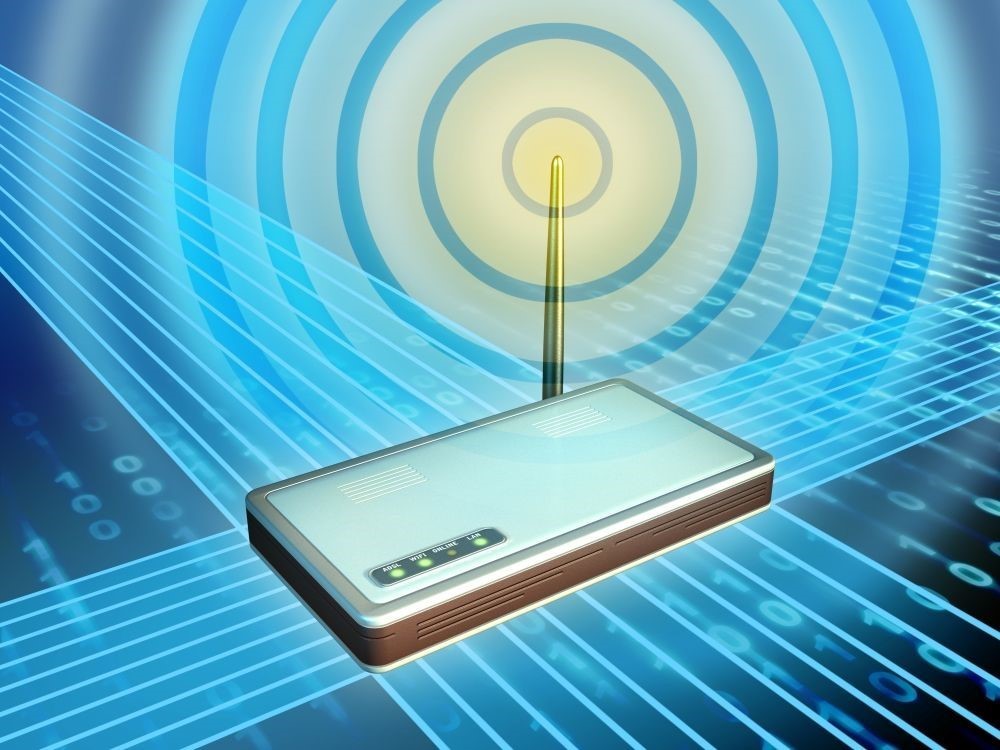
The first step is to purchase a wireless router. This device receives signal from your ISP (Internet Service Provider) through a wire, converting it to radio signals that will travel throughout the entire house. Some ISPs will allow you to use one of their routers in exchange for a small monthly fee, but my recommendation is to purchase a good router from a specialized store. Here's a link to an article that highlights some of the best models.
If budget isn't an issue, go for an expensive router, which is guaranteed to have a great speed, a long range, and lots of other useful features. A good router will set you back about $100, on average. Wi-Fi range is a very important issue, so be sure to pick a model that's got high gain antennas. Always choose routers that have at least 5 dBi antennas; as an alternative, you can replace them with better models. If you've got a big home, you should consider investing in a mesh network system, though; it includes several routers that work together, providing a much better signal coverage.
It helps to find out what other people think about the router that you are interested in. So, Google "your router review" and search hardware forums like this to discover that particular model's pros and cons. If lots of people post positive reviews about it, then it's probably a good idea to purchase it.
Okay, so now you've got a great router. What's next? Locate your ISP's Internet cable, and then plug it into your router's WAN socket. Then, connect a short Ethernet cable (usually supplied with your new purchase) from one of the router's LAN ports to a laptop or computer. Finally, connect the power adapter to your router, and press its power button.
Wait for a minute or so, until the router's operating system is fully loaded. Then, locate the tiny booklet that came with your router and contains the installation instructions. Often, you will be asked to open the web browser that's installed on your computer, and then connect to a local IP address that looks like this:
192.168.0.1.
Once that is done, you should see the router login page. Access the admin page by using the provided username and password, which are often set to "admin" by default. Since pretty much any router in the world uses this login info combination, you should change the user and pass right away. It's true that some routers won't allow you to change the user name, but at least ensure that the chosen password has 12 characters or more, and includes some weird symbols as well. Write down the password; I guarantee that you will forget it!
It's time to set up the Wi-Fi network. Access the "wireless" section in the admin panel, and then give your network a meaningful name. Choose WPA2 as your network's encryption protocol, and then set up a strong password for it. Don't reuse the router admin password for this, of course, and don't forget to write down the new password as well.
Save your settings; click the appropriate button, and your router will restart. Give it a minute to load its operating system once again, and then try to connect your smart phone to the newly created wireless network. Activate your phone's Wi-Fi, and then give it a few seconds to discover the network that was created by your router. Tap the network name to connect to it, and then, when prompted, input the network password. If everything works as expected, you will now have Wi-Fi-based Internet access on your phone. Repeat the process for all the other devices that should be connected to the web using your router. That's all!